
Step 1
Open the image you want to transform into a stone. Keep in mind that you can use this technique for any image. If you want it to look great and achieve this effect, you should use a portrait with someone looking at the camera. Other than that, it’s up to you.
Step 2
Cut the person out of the image (I use the Pen Tool).
Step 3
Duplicate the layer. It is best to always do this so that you can come back to the original image if something goes wrong. Duplicate by pressing Ctrl+J.
Step 4
Next we will desaturate the layer. Go to Adjustments > Desaturate.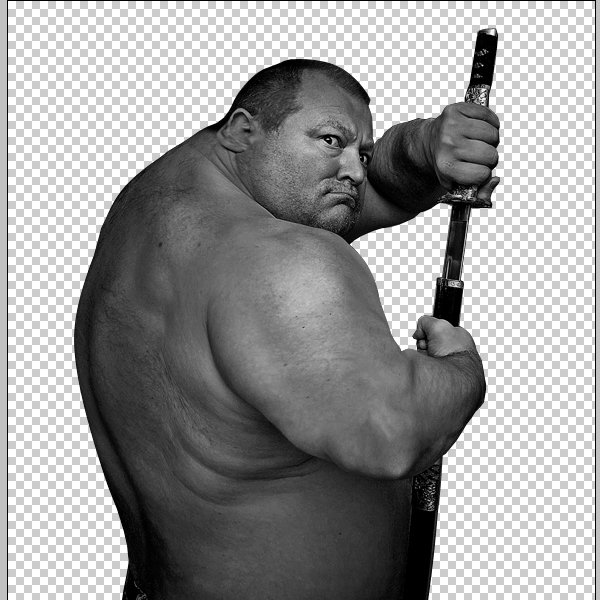
Step 5
Next we are going to seal his eyeballs to achieve the statue effect. Zoom into his eyes, and using the Pen Tool make a path around his eyeballs. Press Ctrl+Enter to make a selection.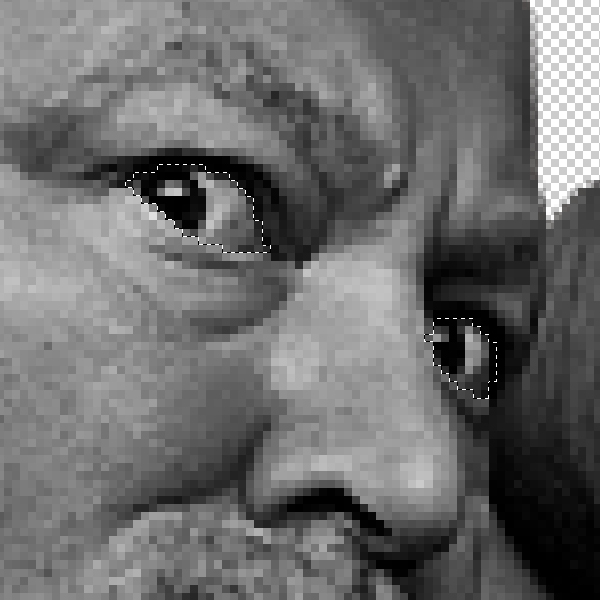
Step 6
Now we’ll add a gradient over the selected area. To do so, select the Gradient Tool and the Black+White option. Use the Brightness/Contrast option (Image > Adjustments > Brightness/Contrast) to alter the color until it matches the color of the rest of the statue. Press Ctrl+D to deselect.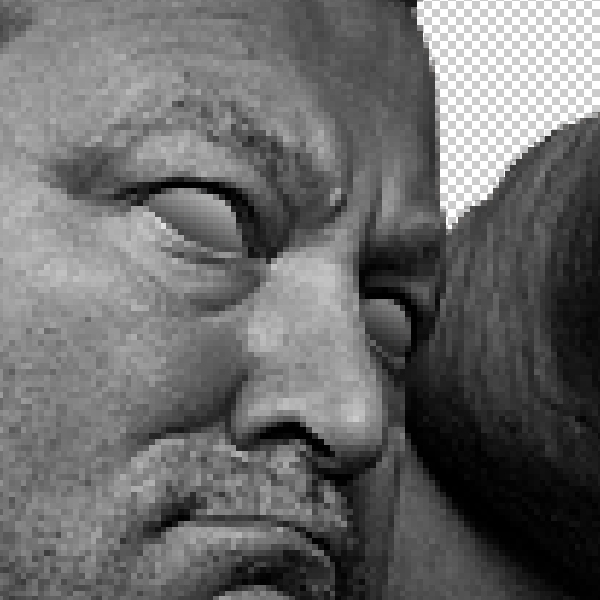
Step 7
Next is to lighten up the darker areas in the image. Most important is the hair area. Use the Dodge Tool for this step and the settings below.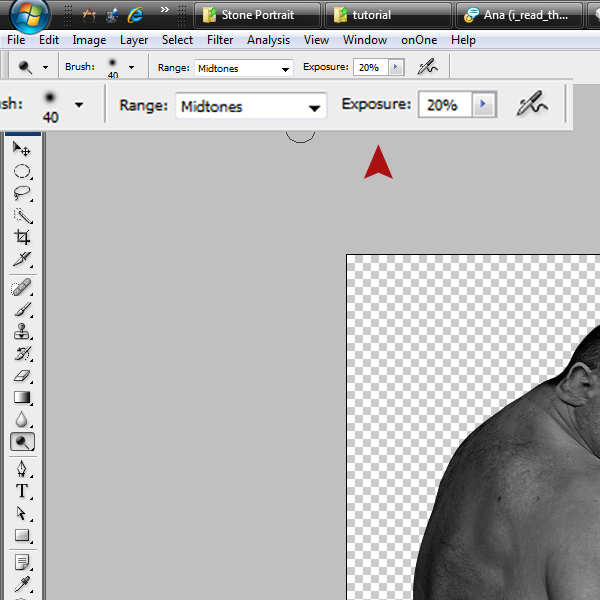
Step 8
Next, start adding some light into the darker areas of the portrait.
Step 9
Now we need to add the stone texture. Drag the texture you choose to work with into the document and use the Transform Tool to set it so it covers the top section of the portrait, as shown below.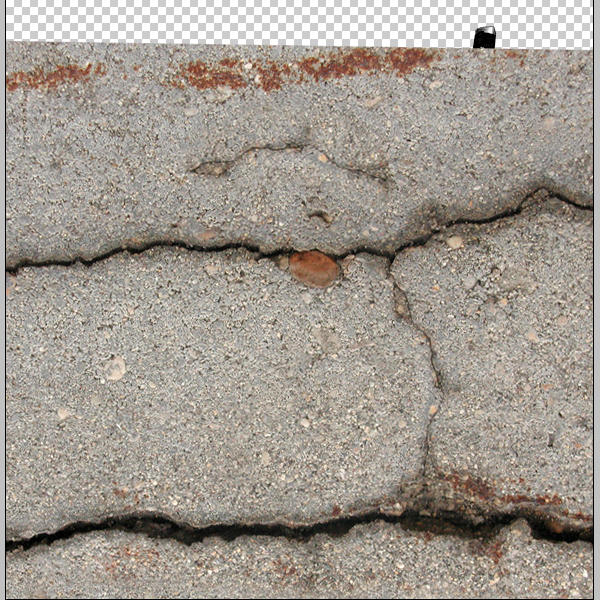
Step 10
Now that we have placed the texture, we must create a Layer Mask. Make a selection around the portrait by Ctrl-Clicking on the portrait thumbnail.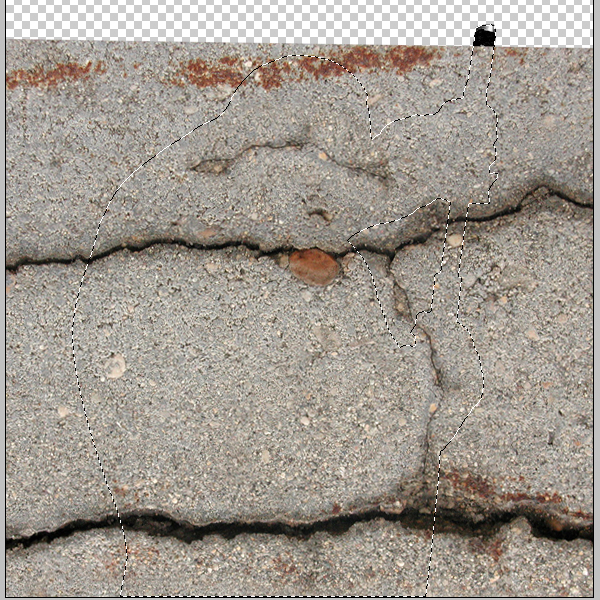
Step 11
Hit Add Vector Mask into the lower part of the layer palette to create a layer mask for the texture.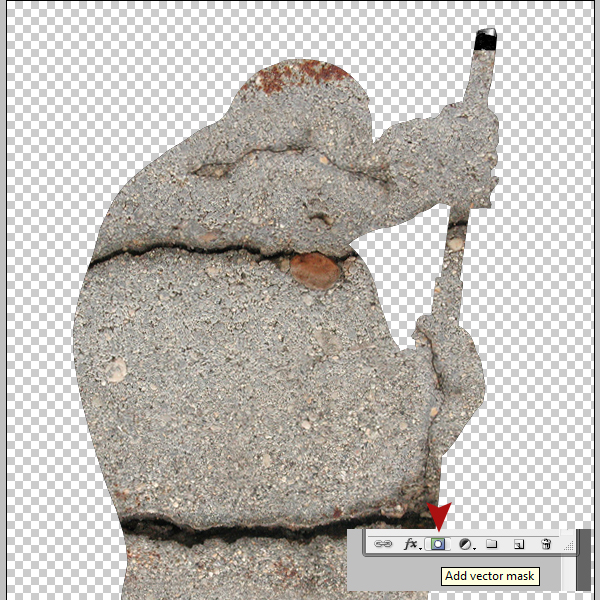
Step 12
Next hold Alt, click and hold over the adjustment button in the layer palette and chose Hue/Saturation.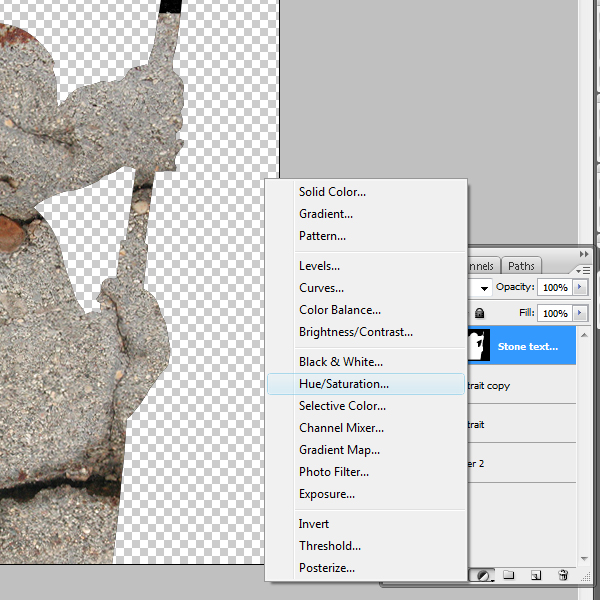
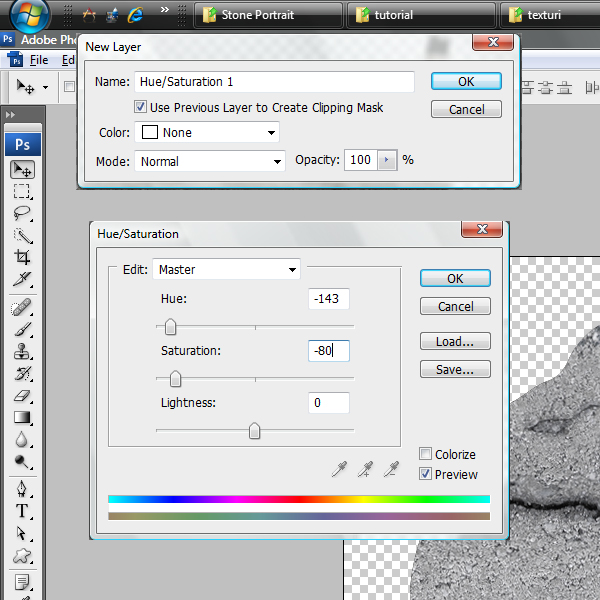
Step 13
A dialog box will appear. Check “Use previous layer to create clipping mask” and click “OK.”Another window will appear. Use the settings shown below to replicate my effect, or experiment to come up with your own aesthetic.
Step 14
Click on the stone thumbnail layer and and go into the Blending Mode menu and select Multiply.
Step 15
It already looks very cool but we need to make it more realistic by adding some light and shadow. Use the same technique as in Step 12, but this time select the portrait layer. Holding down the Alt key, go to the Adjustments layer and chose Levels. Use the settings shown below and click OK.
Step 16
Repeat Step 15, but this time activate the Hue/Saturation layer in the layer palette by clicking on it. Use the settings shown below and press OK.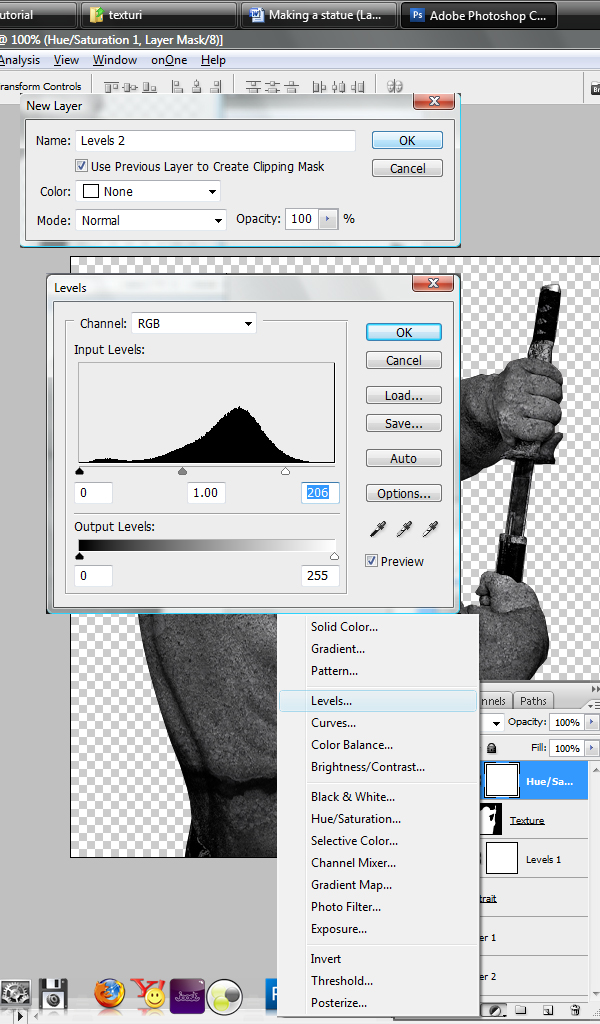
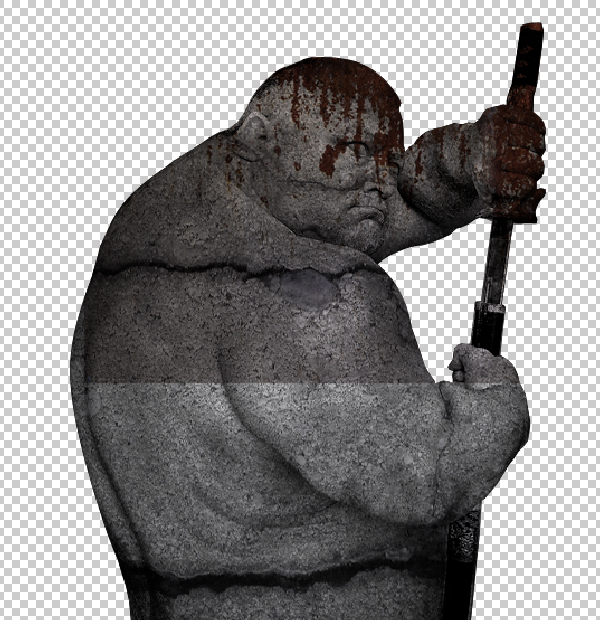
Step 17
Now how about adding some more texture to the statue? Bring another texture into the document and move it on top of the other layers. What I’ve done here is to add some blood stains over the statue.
Step 18
Follow Step 9 to Step 14 and do the same things with this texture, but this time experiment with the settings to get the best effect..
Step 19
We need to hide the rest of the new texture and leave only the stain over the statue. To do that, create a layer mask for this texture and fill it with white.
Step 20
Make your foreground black, chose the Brush Tool and use a 0% Hardness for the brush. Start brushing over the texture and leave the “blood” over. You can add some levels to the texture like we did in Step 16.
Step 21
So there you have it. A nice portrait turned into a statue.
Step 22
Here is my final result. I added more shadows and made a nice background to make it stand out a bit more. I hope you enjoyed this tutorial!
Langganan:
Posting Komentar (Atom)
0 komentar:
Posting Komentar
.